In this blog I want to share my findings about using Packer for the first time on Azure. My goal is to automate the build of a Golden Image for Azure Virtual Desktop (AVD) with Packer. Like many of you guys, I regular (re)build a AVD environment either for a production environment or for demo purposes. I’ve used all kind of PowerShell scripts to get my image just as I want it, but of course I want to automate that. Image as a code with Packer.
What is Packer?
Packer is an open-source tool by HashiCorp that automate’s the building process of system images. Packer is based on templates. These templates can be written in JSON or HCL2 format. A Packer Template structure has the following keys available:
- Builders (required)
- Description (optional
- Min_packer_version (optional)
- Variables (optional)
- Provisioners (optional)
For more info check out this link JSON Templates | Packer by HashiCorp.
Some advantages that Packer offers are:
- better stability and efficiency (Packer will stop processing if there’s an error in the script ).
- Suitable for Multi-Cloud platforms and on-prem infrastractures.
Let’s Go!
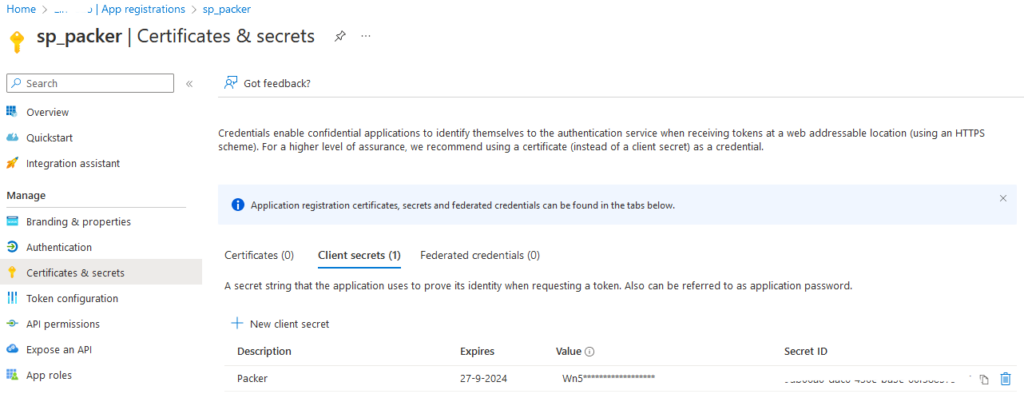
First I’ve created a Service Principal (SP) in Azure Active Directory which allows Packer access to my Azure resources. and assigned the contributer role. Identification is based on Application (client) ID and can either use a password (Client Secret) or a certificate to authenticate. I’ve chosen a Client Secret.
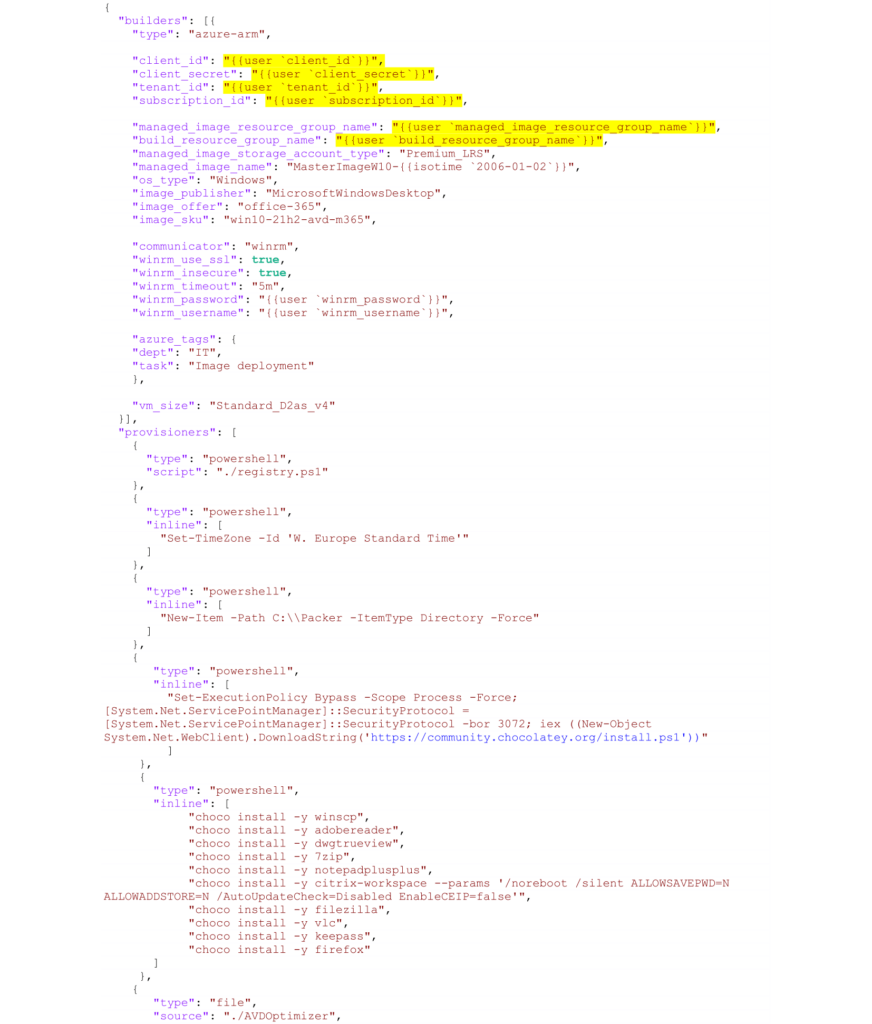
To use my created Service Principal with Packer I have to specify the subscription_id, tenant_id and client_id, as well as the Client_secret.
In my golden Image build for my AVD Demo environment I will install some “native” apps with Chocolatey. For my Line of Business apps I will use MSIX App Attach in AVD. This way I can keep my golden image small, what makes the build time faster. Second I can easily make updates to the apps without downtime and without the need of building a new Golden Image.
For this build, I also use some PowerShell scripts for branding, tweaks and optimization of the operating system with the Windows Virtual Desktop Optimization Tool (VDOT).
I prefer using a Windows 10 base image with Office 365 for my Demo environment. So I used a marketplace Windows Image (Windows 10 21H2 with Office 365). For the VM size the Standard_D2as_v4 will be used with Premium SSD disk.
My Packer directory structure looks like this:
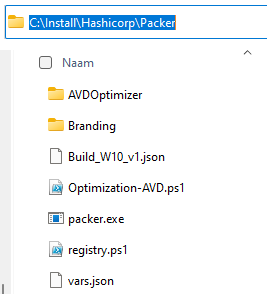
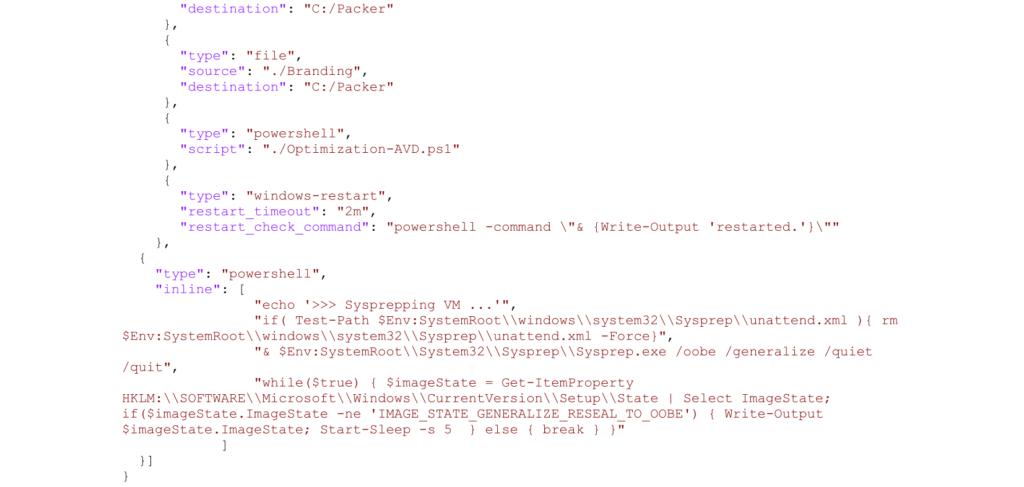
I use the template file “Build_W10_v1.json” for configuring the build and basically tell Packer what to do. The variables marked in yellow are values that are stored in a separate file called “vars.json”. The reason for this is security so that sensitive data is not shown during the building process.
Building
So let’s start the building process with a command
.\packer.exe build -var-file=’vars.json’ .\Build_W10_v1.json
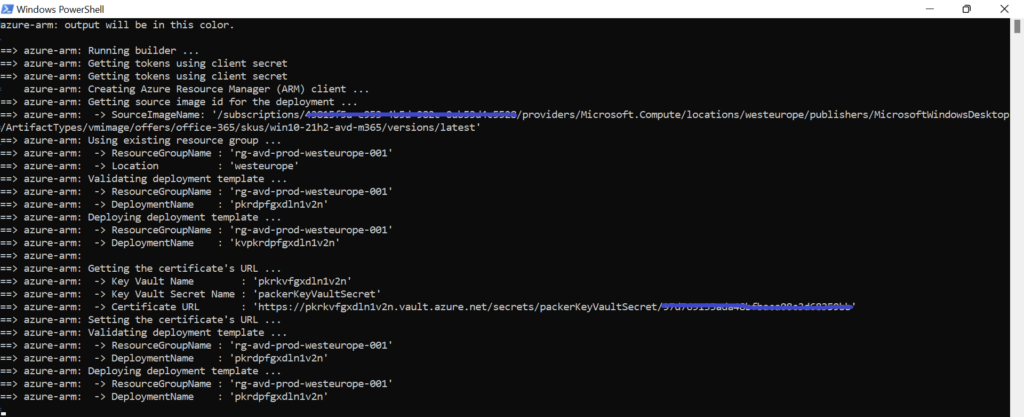
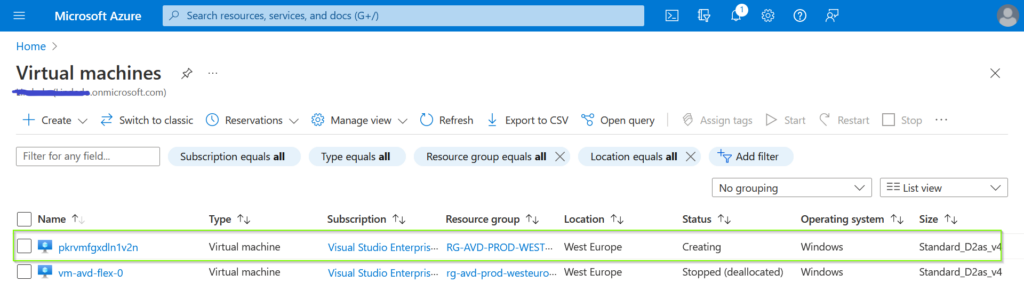
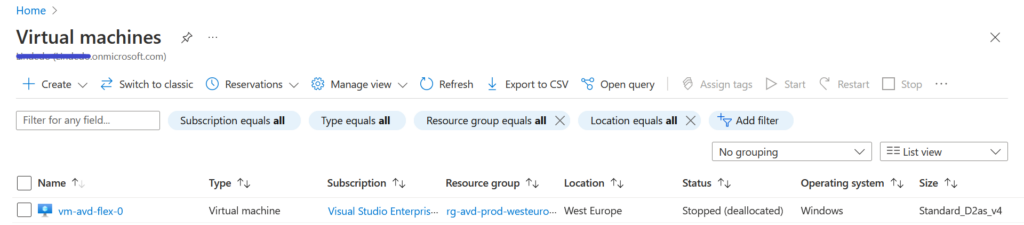
A temporary VM is being created
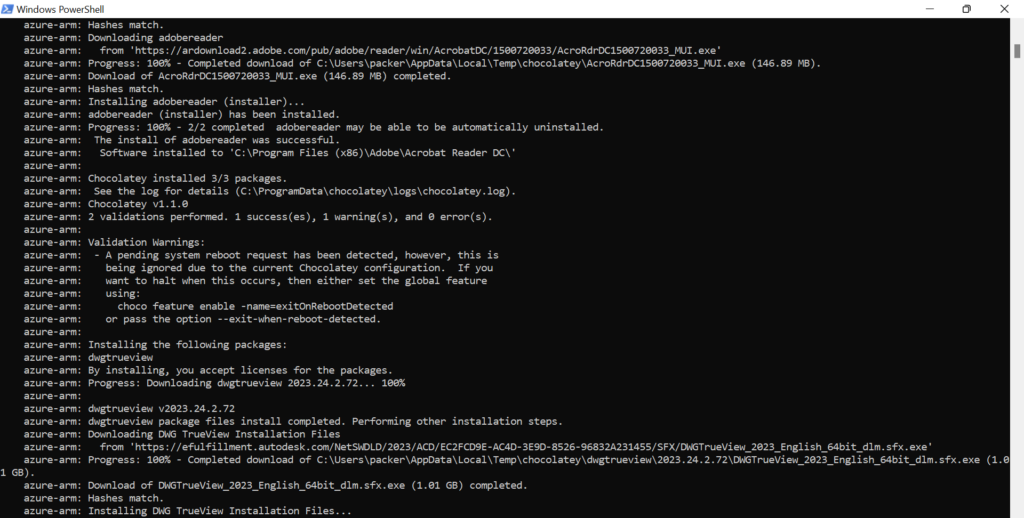
Chocolatey is being installed and some “native” apps
After the Sysprep a cleanup of resources is next
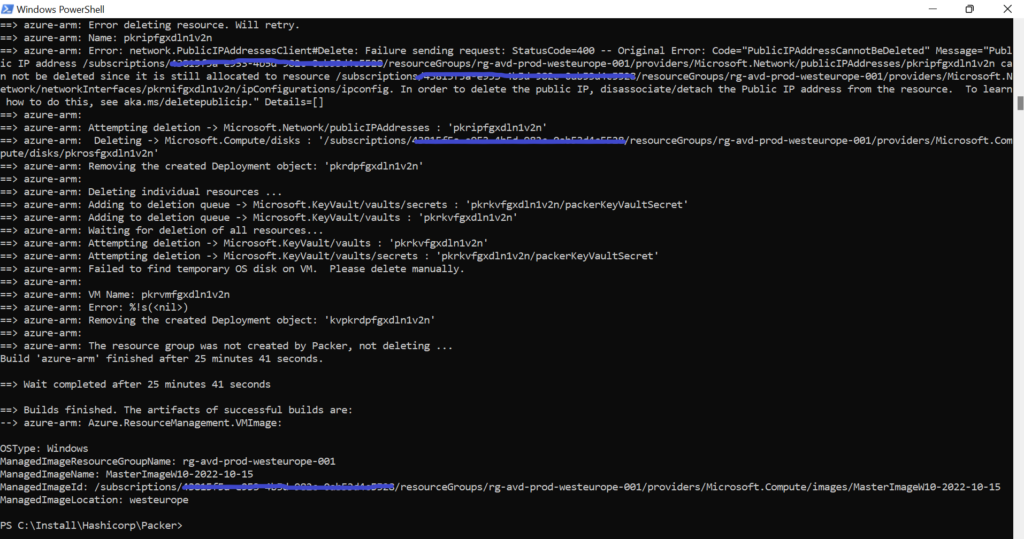
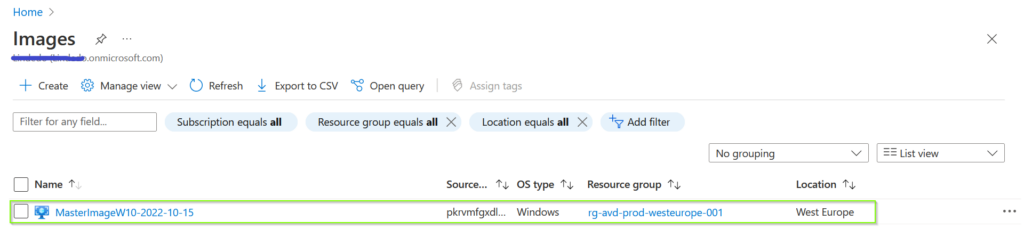
A new Golden Image with a specific naming convention is created
Conclusion
A very straightforward setup and can be run from any OS you like, Linux, Windows or macOS. In my case I tested it from a Windows 11 device and my MacBook and was amazed by the speed of the building process.
In my opinion it’s not that hard to understand and use Packer. There’s is plenty of documentation and examples to find on the internet. Give it a go!
Next step is embracing Infrastructure as A Code for deployment of a full automate infrastructure within Azure.
Geef een reactie